Crafting Your Love for Taylor Swift: DIY Beaded Bracelet Activity
·
·
Calling all Taylor Swift fans! Are you looking for a fun and creative way to express your love for the pop superstar while indulging in a delightful DIY activity? Look no further! Make your very own Taylor Swift-inspired beaded bracelet with us! Whether you're a devoted Swiftie or just appreciate her music and style, this craft is perfect for showcasing your admiration for the music icon. Visit us in Torrance, Brea, or Pasadena for a s-eras-ly fun time!
Beads: Select a mix of colorful beads to represent Taylor Swift's vibrant personality and music. Look for beads in her favorite colors like red, gold, and pastel shades to add a touch of her signature style.
Elastic String: Ensure you have an elastic string suitable for beading, ensuring a comfortable fit for your bracelet.
Charms: Optional, but adding charms that represent Taylor's music, such as our inspirational word charms, can enhance the bracelet's personal touch.
Scissors: To cut the elastic string to the desired length.
Clothes Pin: Helpful for holding the ends of the elastic string while beading.
Bead Tray: A tray or shallow dish to keep your beads organized while working on the bracelet.
Step 1: Measure Your Wrist
Start by measuring your wrist to determine the ideal length for your bracelet. Leave a little extra space to ensure a comfortable fit.
Step 2: Prepare the Elastic String
Cut the elastic string according to the measured length, adding an extra inch to make knotting easier. Pre-stretch the string.
Step 3: Secure the Ends
To prevent the beads from slipping off the string, clip a clothes pin on one end of the elastic string as a temporary stopper.
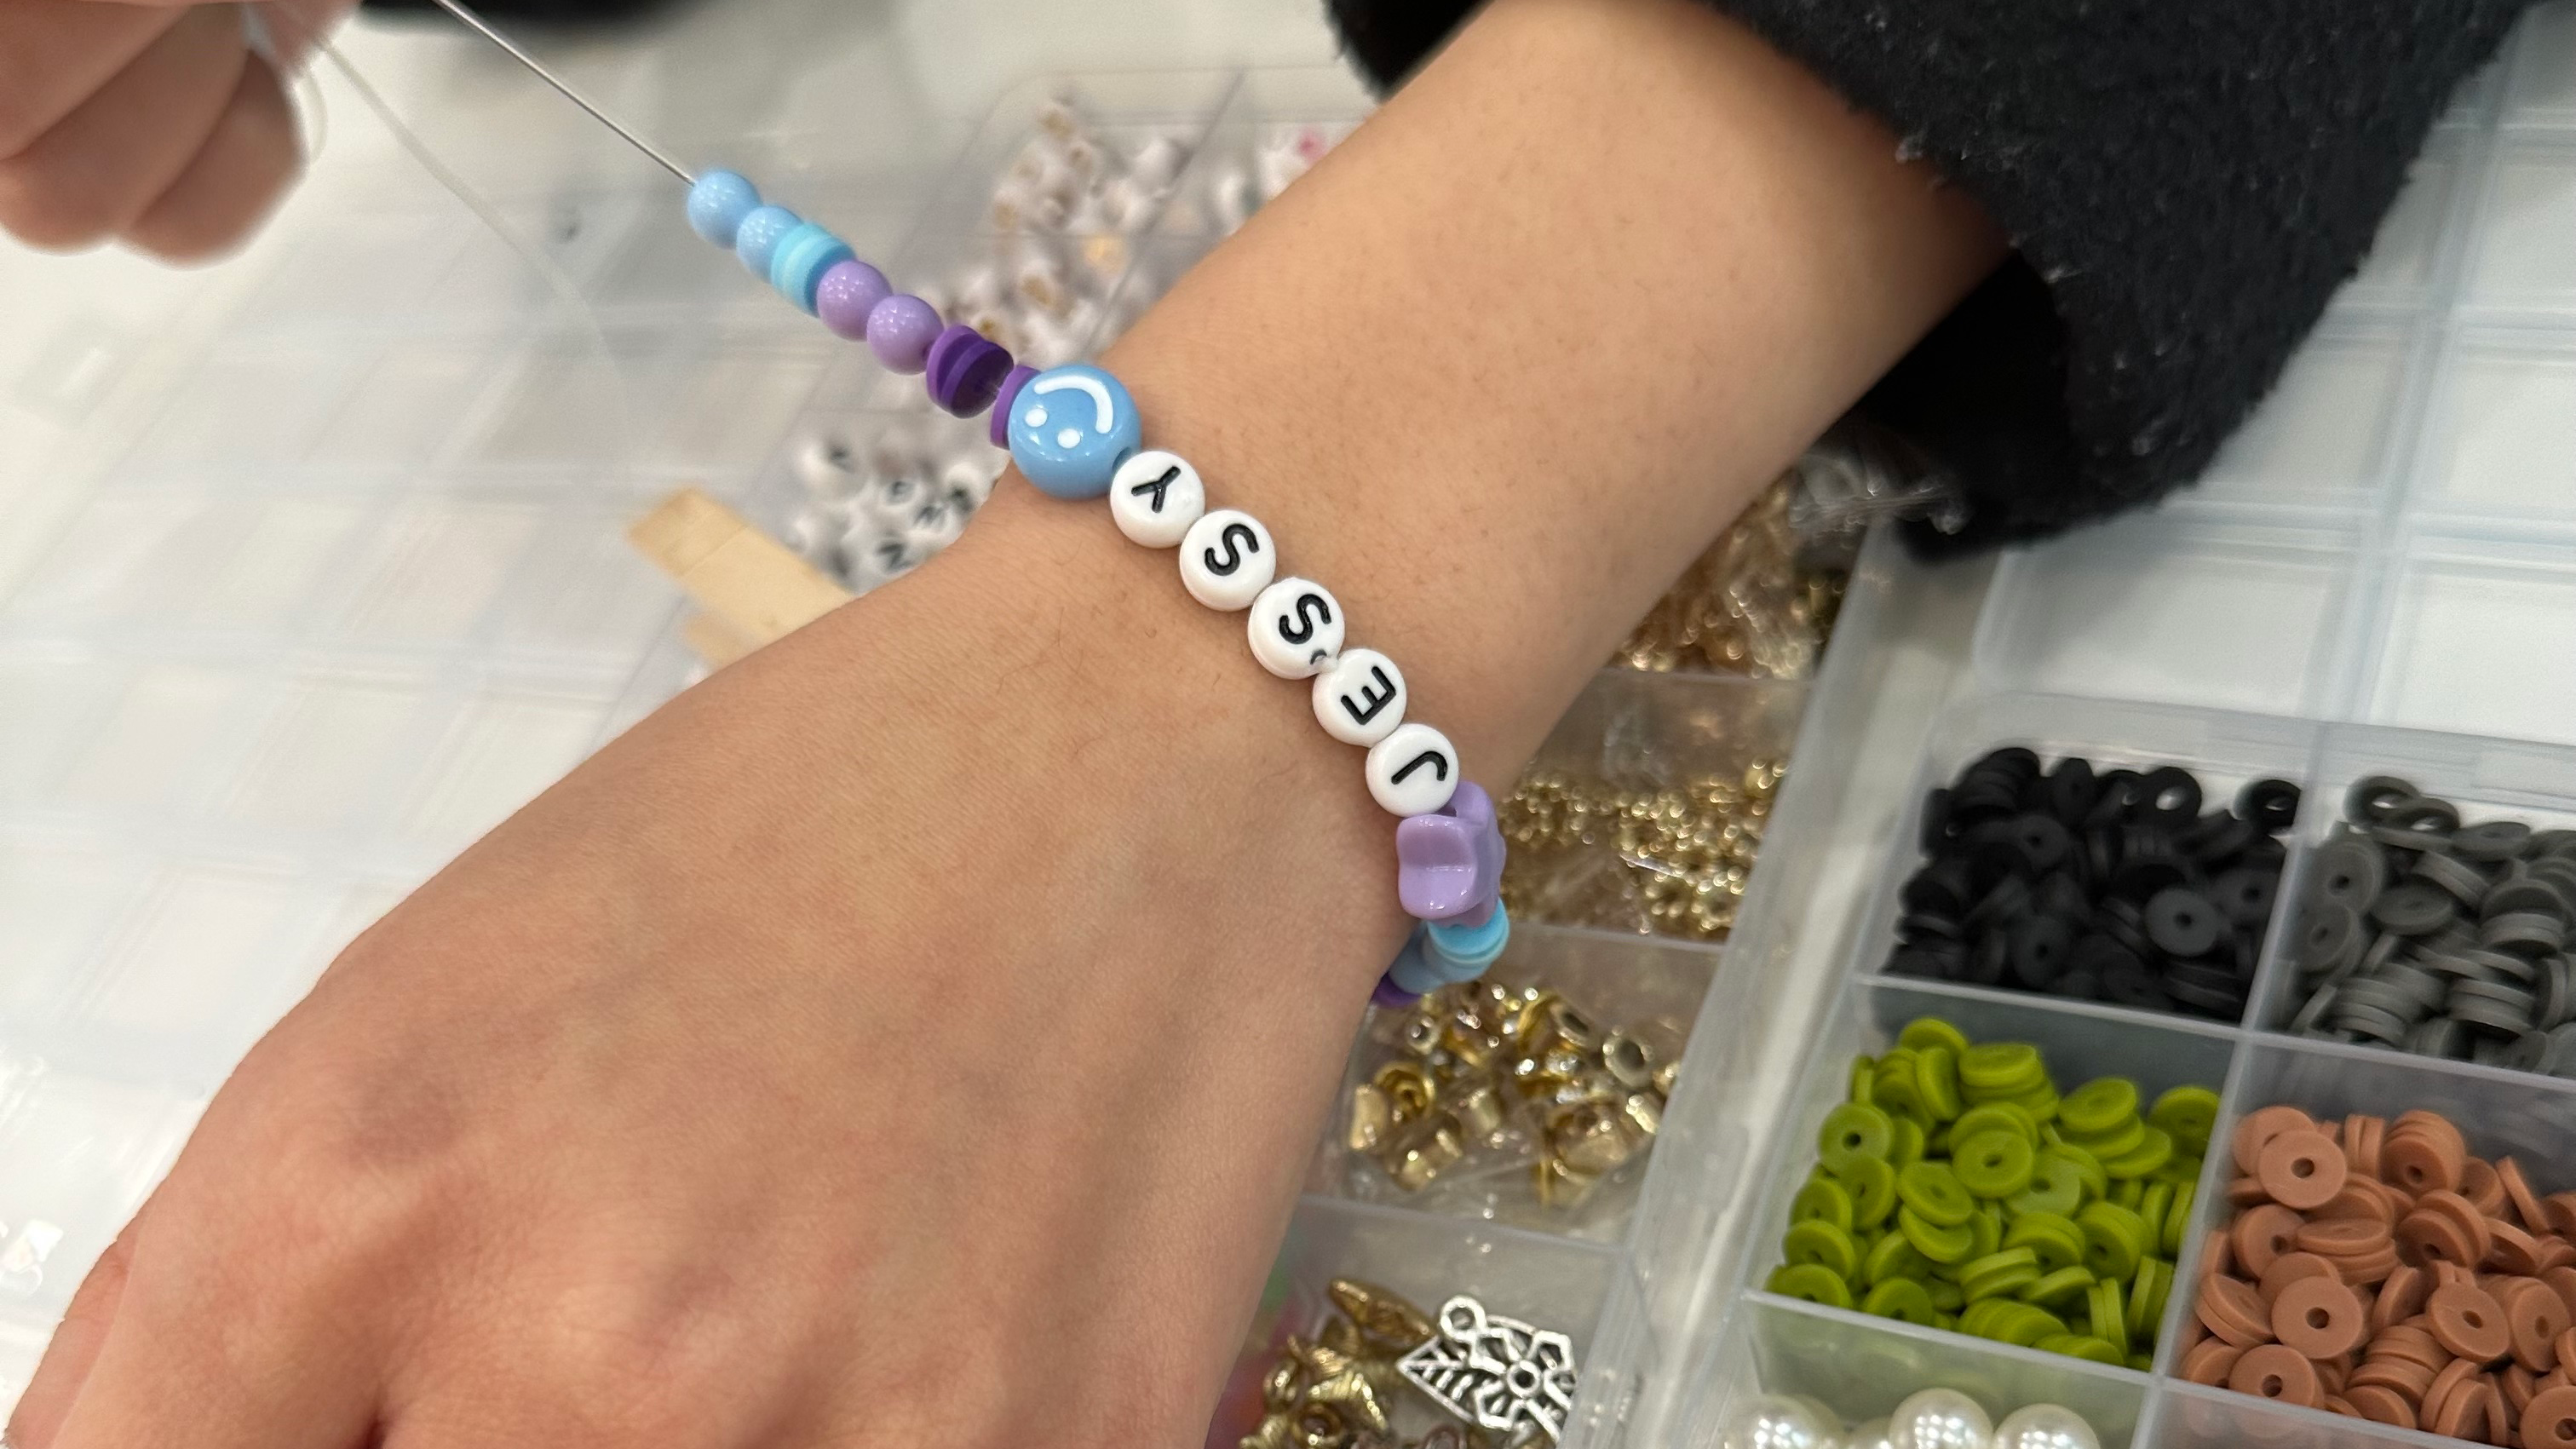
Step 4: Start Beading
Now comes the fun part! Begin beading your bracelet by adding your chosen beads one by one onto the elastic string. Feel free to experiment with different patterns and color combinations to create a unique design.
Step 5: Add Charms (Optional)
If you opted for charms, add them in between the beads as you proceed. These little accents will add an extra touch of Swiftie charm to your bracelet.
Step 6: Finishing Touches
Once you've added all the beads and charms, it's time to tie a secure knot at the end of the elastic string. You may consider using a surgeon's knot or adding a dab of glue to ensure the knot stays in place.
Step 7: Test the Fit
Before trimming any excess string, slide the bracelet onto your wrist to ensure it fits comfortably. Make any necessary adjustments and double-check the knot's security.
Step 8: Trim Excess String
Once you're satisfied with the fit, trim any excess string carefully, leaving a small tail to avoid the knot coming undone.
Congratulations, Swifties! You've successfully crafted your very own Taylor Swift-inspired beaded bracelet, reflecting your admiration for the music sensation. This DIY activity not only allows you to express your love for Taylor Swift but also serves as a beautiful and unique accessory to wear with pride or trade with other fans!
Make One Bracelet $15
Make Two Bracelets $25*
Make Three Bracelets $30*
*Discounted price is per person
Make Two Bracelets $25*
Make Three Bracelets $30*
*Discounted price is per person
Materials Provided
Before we dive into the crafting process, we'll gather the following materials:Beads: Select a mix of colorful beads to represent Taylor Swift's vibrant personality and music. Look for beads in her favorite colors like red, gold, and pastel shades to add a touch of her signature style.
Elastic String: Ensure you have an elastic string suitable for beading, ensuring a comfortable fit for your bracelet.
Charms: Optional, but adding charms that represent Taylor's music, such as our inspirational word charms, can enhance the bracelet's personal touch.
Scissors: To cut the elastic string to the desired length.
Clothes Pin: Helpful for holding the ends of the elastic string while beading.
Bead Tray: A tray or shallow dish to keep your beads organized while working on the bracelet.
Crafting Process
Now that you have your materials ready, follow these simple steps to create your Taylor Swift-inspired beaded bracelet:Step 1: Measure Your Wrist
Start by measuring your wrist to determine the ideal length for your bracelet. Leave a little extra space to ensure a comfortable fit.
Step 2: Prepare the Elastic String
Cut the elastic string according to the measured length, adding an extra inch to make knotting easier. Pre-stretch the string.
Step 3: Secure the Ends
To prevent the beads from slipping off the string, clip a clothes pin on one end of the elastic string as a temporary stopper.
Step 4: Start Beading
Now comes the fun part! Begin beading your bracelet by adding your chosen beads one by one onto the elastic string. Feel free to experiment with different patterns and color combinations to create a unique design.
Step 5: Add Charms (Optional)
If you opted for charms, add them in between the beads as you proceed. These little accents will add an extra touch of Swiftie charm to your bracelet.
Step 6: Finishing Touches
Once you've added all the beads and charms, it's time to tie a secure knot at the end of the elastic string. You may consider using a surgeon's knot or adding a dab of glue to ensure the knot stays in place.
Step 7: Test the Fit
Before trimming any excess string, slide the bracelet onto your wrist to ensure it fits comfortably. Make any necessary adjustments and double-check the knot's security.
Step 8: Trim Excess String
Once you're satisfied with the fit, trim any excess string carefully, leaving a small tail to avoid the knot coming undone.
Congratulations, Swifties! You've successfully crafted your very own Taylor Swift-inspired beaded bracelet, reflecting your admiration for the music sensation. This DIY activity not only allows you to express your love for Taylor Swift but also serves as a beautiful and unique accessory to wear with pride or trade with other fans!